We use cookies to help you navigate efficiently and perform certain functions. You will find detailed information about all cookies under each consent category below.
The cookies that are categorized as "Necessary" are stored on your browser as they are essential for enabling the basic functionalities of the site. ...
Necessary cookies are required to enable the basic features of this site, such as providing secure log-in or adjusting your consent preferences. These cookies do not store any personally identifiable data.
Functional cookies help perform certain functionalities like sharing the content of the website on social media platforms, collecting feedback, and other third-party features.
Analytical cookies are used to understand how visitors interact with the website. These cookies help provide information on metrics such as the number of visitors, bounce rate, traffic source, etc.
Performance cookies are used to understand and analyze the key performance indexes of the website which helps in delivering a better user experience for the visitors.
Advertisement cookies are used to provide visitors with customized advertisements based on the pages you visited previously and to analyze the effectiveness of the ad campaigns.

Sugar Specialist Doctor in Hyderabad: Your Guide to Expert Diabetes Care

Black-Manga เป็นแอพอ่านการ์ตูนออนไลน์ยอดนิยมที่ครองใจผู้ใช้งานทั่วประเทศไทย ด้วยการรวบรวมมังงะแปลไทยจากหลากหลายประเทศ ไม่ว่าจะเป็นญี่ปุ่น จีน หรือเกาหลี ผู้ใช้งานสามารถเพลิดเพลินกับเรื่องโปรดได้อย่างสะดวกทุกที่ทุกเวลา รองรับทั้งระบบ Android และ iOS โดยไม่เสียค่าใช้จ่ายในการอ่าน นอกจากนี้ยังมีระบบการจัดหมวดหมู่ที่เข้าใจง่าย ค้นหาเรื่องโปรดได้รวดเร็ว พร้อมอัปเดตตอนใหม่อย่างสม่ำเสมอ ทำให้ผู้ใช้งานไม่พลาดทุกความเคลื่อนไหวของเนื้อหาใหม่ล่าสุด

If you’re ready to start the negotiation process and elevate your practice profitability, our team is here to help. Let us show you how the right strategy can transform your bottom line—because your practice’s financial health matters just as much as your patients’ oral health.

In today’s saturated digital landscape, it’s not enough for businesses to “exist” online—they need to thrive. That’s where the top digital marketing agency comes into play, bringing expertise that transcends conventional strategies.

When it comes to planning a special occasion like a wedding, birthday, anniversary, or corporate gathering, one of the most important decisions is selecting the perfect venue.

Explore how AI medical scribes ease documentation, improve care, and address safety, privacy, legal, and integration concerns in clinical practice.
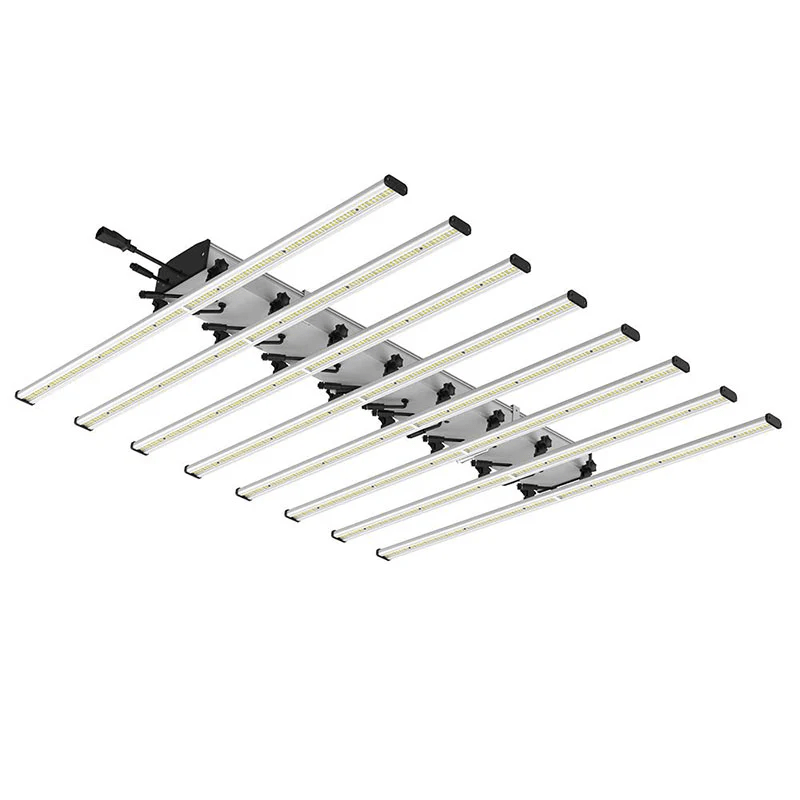
Explore Maverick’s Spider LED Grow Light for cannabis and indoor farms. Maximize yield, reduce energy use, and control every stage of growth with full-spectrum lighting.

Explore India’s leading plunger valve manufacturers for water flow control. Trusted quality, durable design, and nationwide supply for all water systems.

Physical beauty can have a profound impact on self-esteem and confidence in today’s society. That’s why individuals are increasingly opting for plastic surgery Chicago to enhance their natural features and attain their desired appearance.

สำหรับผู้ที่หลงใหลในการ์ตูนและมังงะ เว็บอ่านการ์ตูนมังงะ 2025 คือจุดหมายปลายทางที่ตอบโจทย์ทุกความต้องการของนักอ่านชาวไทยอย่างแท้จริง เรารวบรวมมังงะทุกแนว ทั้งมังงะญี่ปุ่น มังฮวาจากเกาหลี และมังงะจีนสุดฮิต พร้อมแปลไทยอย่างละเอียดทุกตอนด้วยทีมงานมืออาชีพที่ใส่ใจในคุณภาพ ไม่ว่าจะเป็นแนวแอคชัน แฟนตาซี โรแมนติก หรือดราม่า เว็บของเรามีให้อ่านครบครัน จัดหมวดหมู่ชัดเจน อัปเดตตอนใหม่ล่วงหน้าก่อนใครแบบไม่ต้องรอนาน

Headaches are one of the most common health complaints, but not all headaches are the same. Many people use the term "migraine" to describe any bad headache, but migraines are

Canada welcomes Dubai residents with open arms, providing the ideal combination of spectacular natural beauties, vibrant cities, and the famed Canadian kindness that makes every guest feel like family. From Vancouver’s breathtaking coastline to Montreal’s European flair, every “Welcome, eh!”A sunset over the Canadian Rockies creates memories that will last a lifetime, all made possible with a Canada visa from Dubai!

Discover how Gojek clone app development enables businesses to offer multiple on-demand services through a single platform. Learn how it drives growth, streamlines operations, and helps startups and enterprises scale faster in a competitive digital market.
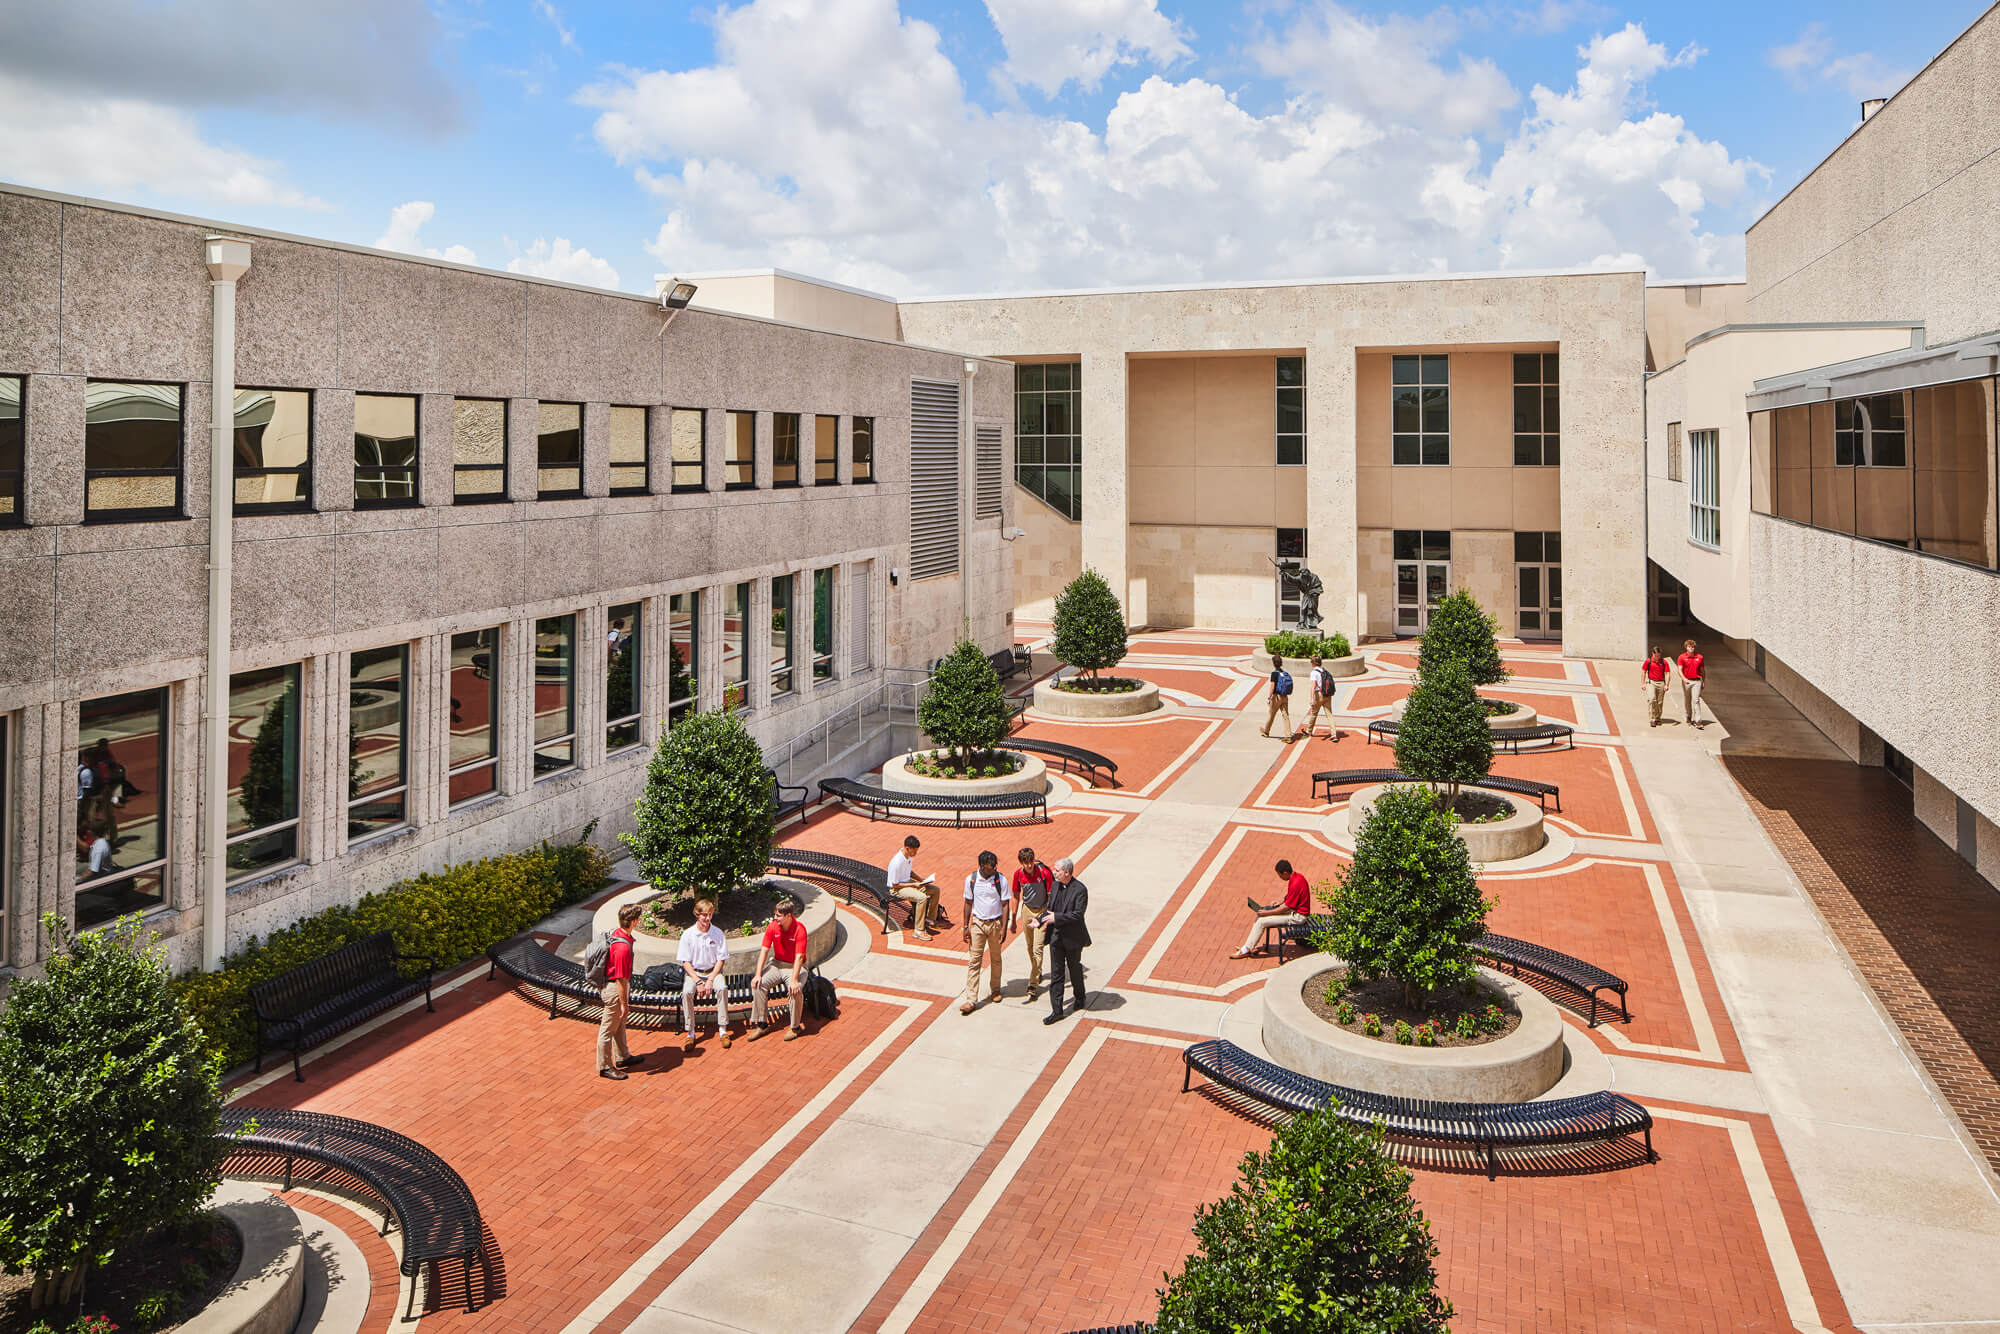
Discover how enhancing school facility management software with mobile access improves safety, productivity, and efficiency across K12 campuses. Learn how to prepare for emergencies with smarter tools.

Discover what to expect from trusted electrician services in Kent, including certified work, transparent pricing, emergency support, and expert solutions in Sevenoaks and Tunbridge Wells.

Der Beitrag erklärt detailliert, welche Symptome beim Cannabisentzug auftreten können – körperlich wie psychisch. Außerdem beleuchtet er, wie sich diese Beschwerden entwickeln, welche Dauer zu erwarten ist und welche Hilfsangebote sinnvoll sind – besonders im Hinblick auf MPU-Vorbereitung oder Abstinenznachweise.

Prestige City Siddharth Vihar by Prestige Group offers luxury apartments in Ghaziabad with top amenities and great connectivity.

Discover how AI medical scribe and AI scribe software are reshaping clinical documentation by improving accuracy, reducing burnout, and enhancing patient care.

It is difficult to find the right talent. However, deciding how to hire is a completely different matter. The hiring strategy you select has a direct impact on cost, culture,

MagnAid Hospitals’ General Surgery Department offers top surgery services with skilled surgeons. Trust us for the best hospital for surgery and expert care.